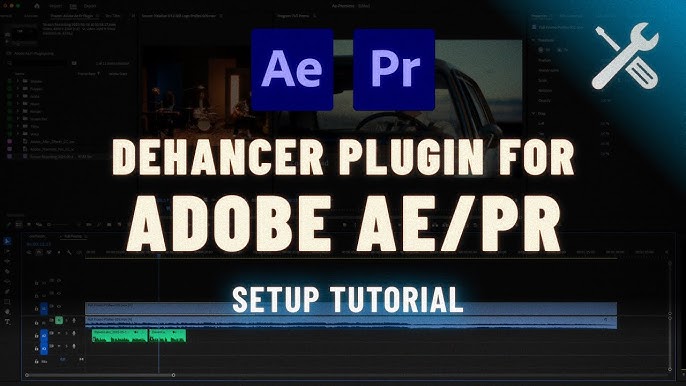
Dehancer Pro Kya Hai?
Dehancer Pro एक advanced video plugin है जो Premiere Pro, DaVinci Resolve, और अन्य professional video editors के लिए बना है। इसका मुख्य काम आपके डिजिटल वीडियो को analog film जैसा look देना है – वो भी पूरी customization के साथ।
इसमें आपको मिलते हैं:
- Real film emulation profiles
- Halation aur Bloom जैसे authentic film effects
- Film grain, Print LUTs, और color head simulation
- Cineon/Log workflow सपोर्ट
Dehancer का खास मकसद है realistic film look देना, न कि केवल color filter apply करना।
Dehancer Pro for Premiere Pro Features (खासियतें)
- Real Film Emulation
Dehancer Pro दुनिया की मशहूर analog film stocks जैसे Kodak Vision3, Fuji, Ilford, आदि की सटीक digital emulation करता है। - Film Grain Control
इसमें आप grain का size, amount, shadow-highlights पर उसका असर, सब customize कर सकते हैं। - Halation & Bloom Effects
Halation का मतलब होता है highlights के आसपास एक reddish glow – जैसे पुराने film reels में दिखता था। Bloom से dreamy और glowing highlights मिलते हैं। - Cineon Log Workflow Support
अगर आप log footage shoot करते हैं तो Dehancer उसे आसानी से handle करता है। - False Colors & LUT Generator
Monitoring के लिए false colors और custom LUT export का फीचर भी है।
Dehancer Pro Download Kaise Kare?
- Official Website Visit Karein
https://www.dehancer.com/ पर जाएं। - Product Section Me Jaakar “Dehancer Pro for Premiere Pro” Select Karein
- Trial Version Download Karein (फ्री में टेस्ट करने के लिए watermark के साथ)
- अगर आप Full Version लेना चाहते हैं तो License खरीदें:
- Price: लगभग $399 (time-to-time discount मिल सकता है)
- Installer Download Karne Ke Baad उसे अपने सिस्टम में install करें।
- Premiere Pro को Restart करें – Plugin तैयार है use के लिए।
Dehancer Pro Ko Premiere Pro Me Kaise Use Karein?
- Premiere Pro Open Karein
- Timeline me apna footage drop karein
- Effects panel me search karein – “Dehancer Pro”
- Footage pe drag & drop karein
- Effects Control panel me jaakar settings tweak karein:
- Film Profile choose करें (Kodak, Fuji, Ilford etc.)
- Film Grain enable करें
- Halation & Bloom adjust करें
- LUT apply करें अगर जरूरत हो
- Output preview करें और final render करें
System Requirements
- OS: Windows 10/11 or macOS (latest recommended)
- RAM: 16 GB minimum (32 GB recommended)
- GPU: CUDA/OpenCL compatible